
Splatter Honeycomb Ornaments
My favorite thing about papercrafting is that you can literally customize your ornament to fit your style.
Minimalist? Do able. Goofy? Can do. Modern? You betcha.

I customized my honeycomb ornaments into this glorious mix of artsy and modern. This year’s Christmas colors are pink, ivory, and gold - but my store bought ornaments trend towards traditional, which isn’t really my style. With these splatter honeycomb ornaments my tree will be starting it’s spunky era. I’m hoping that you want some spunk too - so follow along my splatter guide below.

Tools
Stiff bristle brush
Paint (cheap will do)
Water
Palette or parchment for your paint
Gloves (optional)
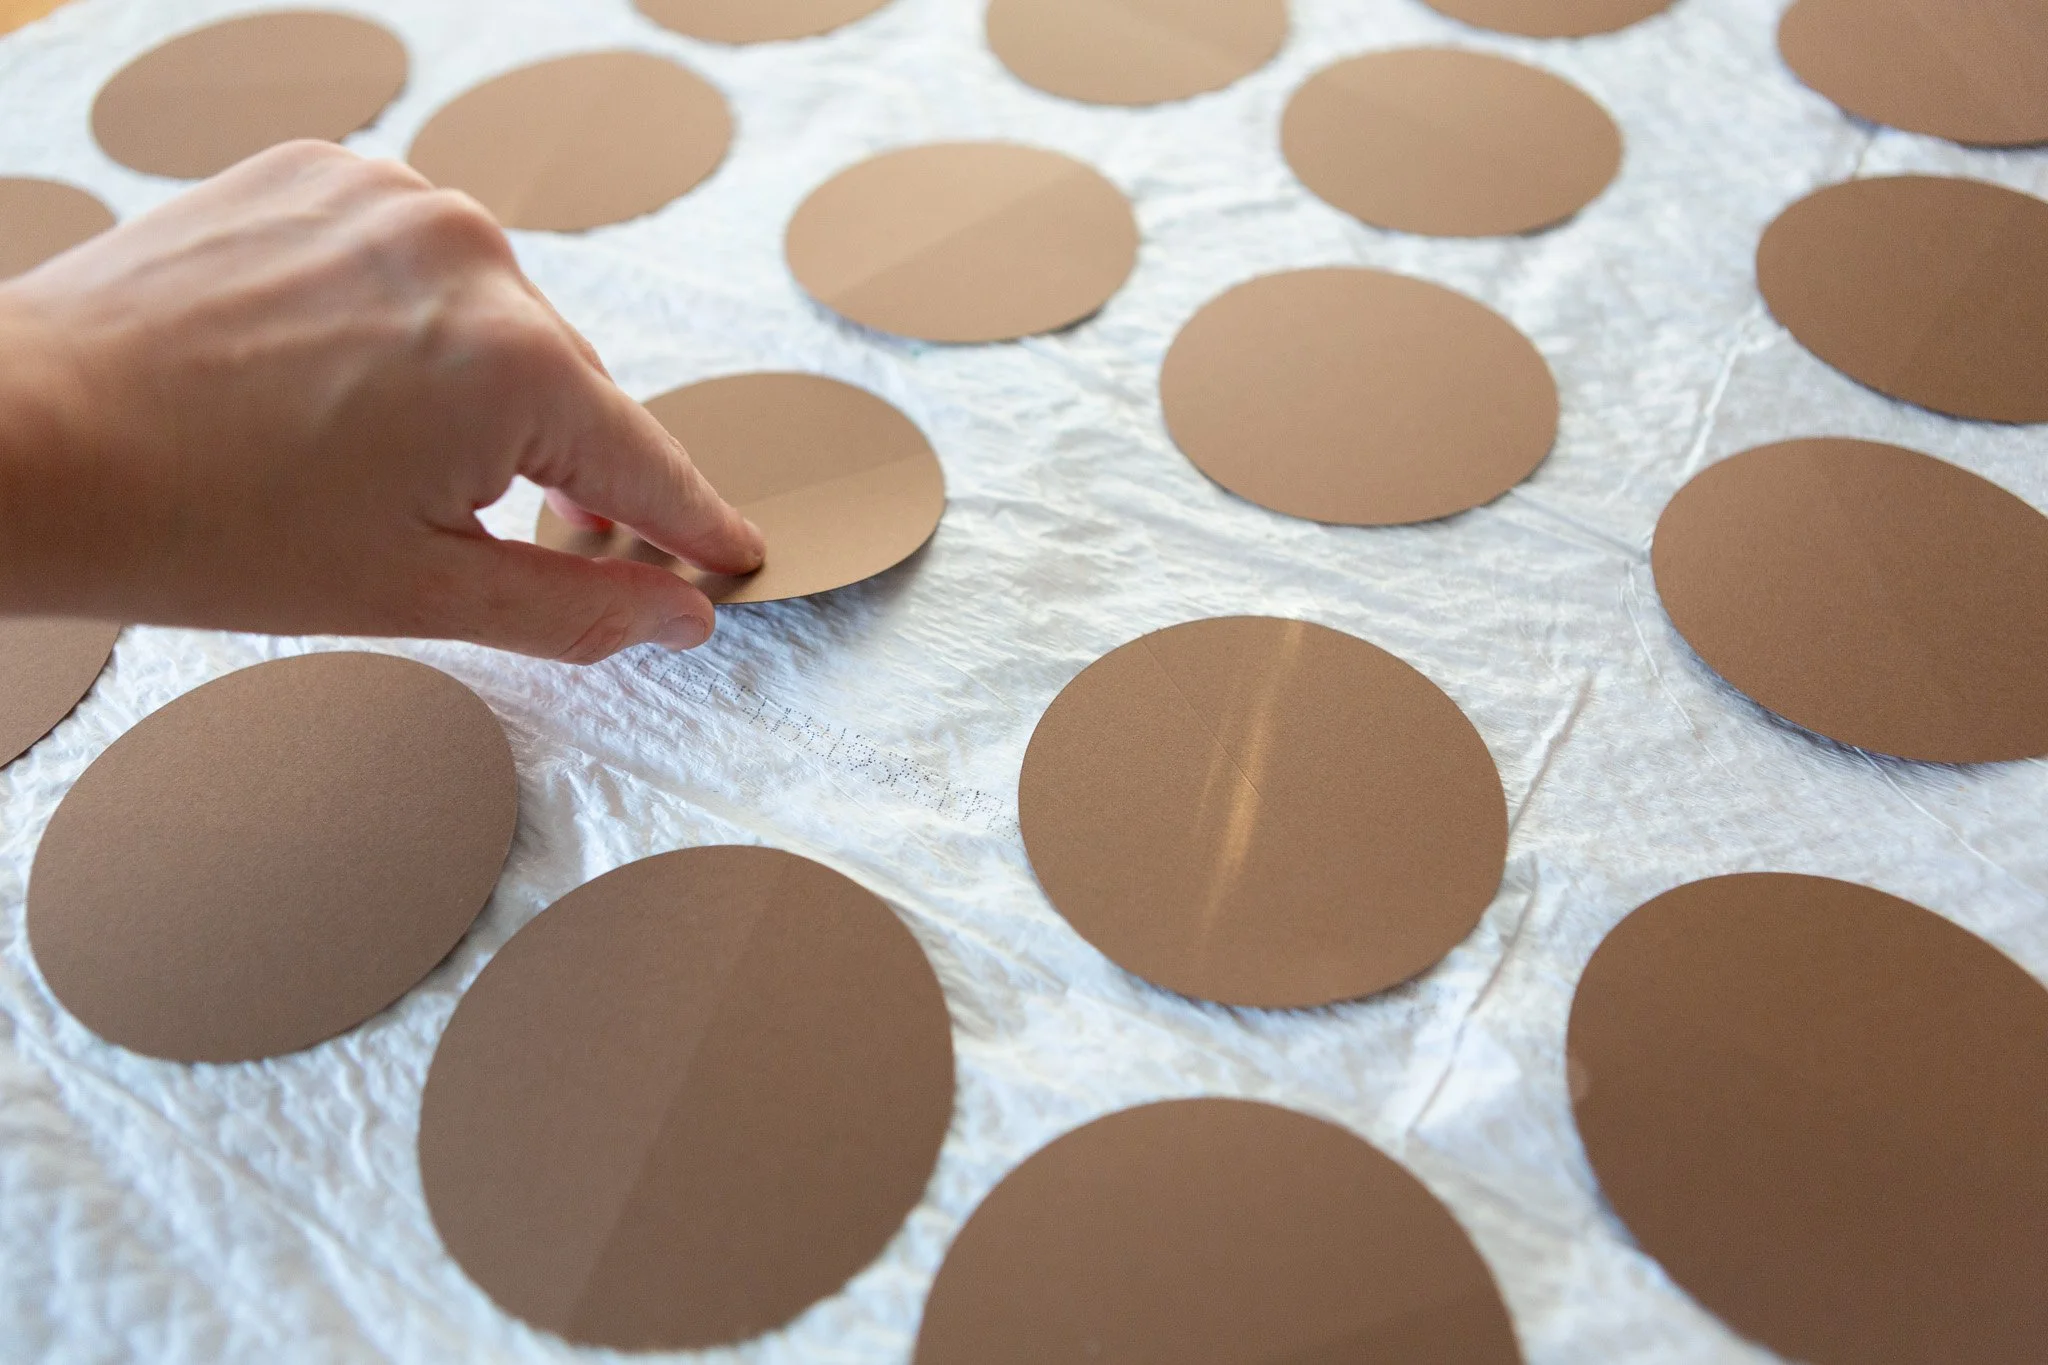
Step 1
Prep your space. Splatter goes every where. I’ve used a trash page on a table, and that worked just fine.
Layout your pieces, ensure none overlap.

Step 2
Pour a little bit of paint onto the parchment.
Add a tad of water - think 1/8 - 1/4 teaspoon. The amount will vary due to the thickness of the paint you’re using. The cheap crafter paint (which I love!) doesn’t take as much.
Mix.
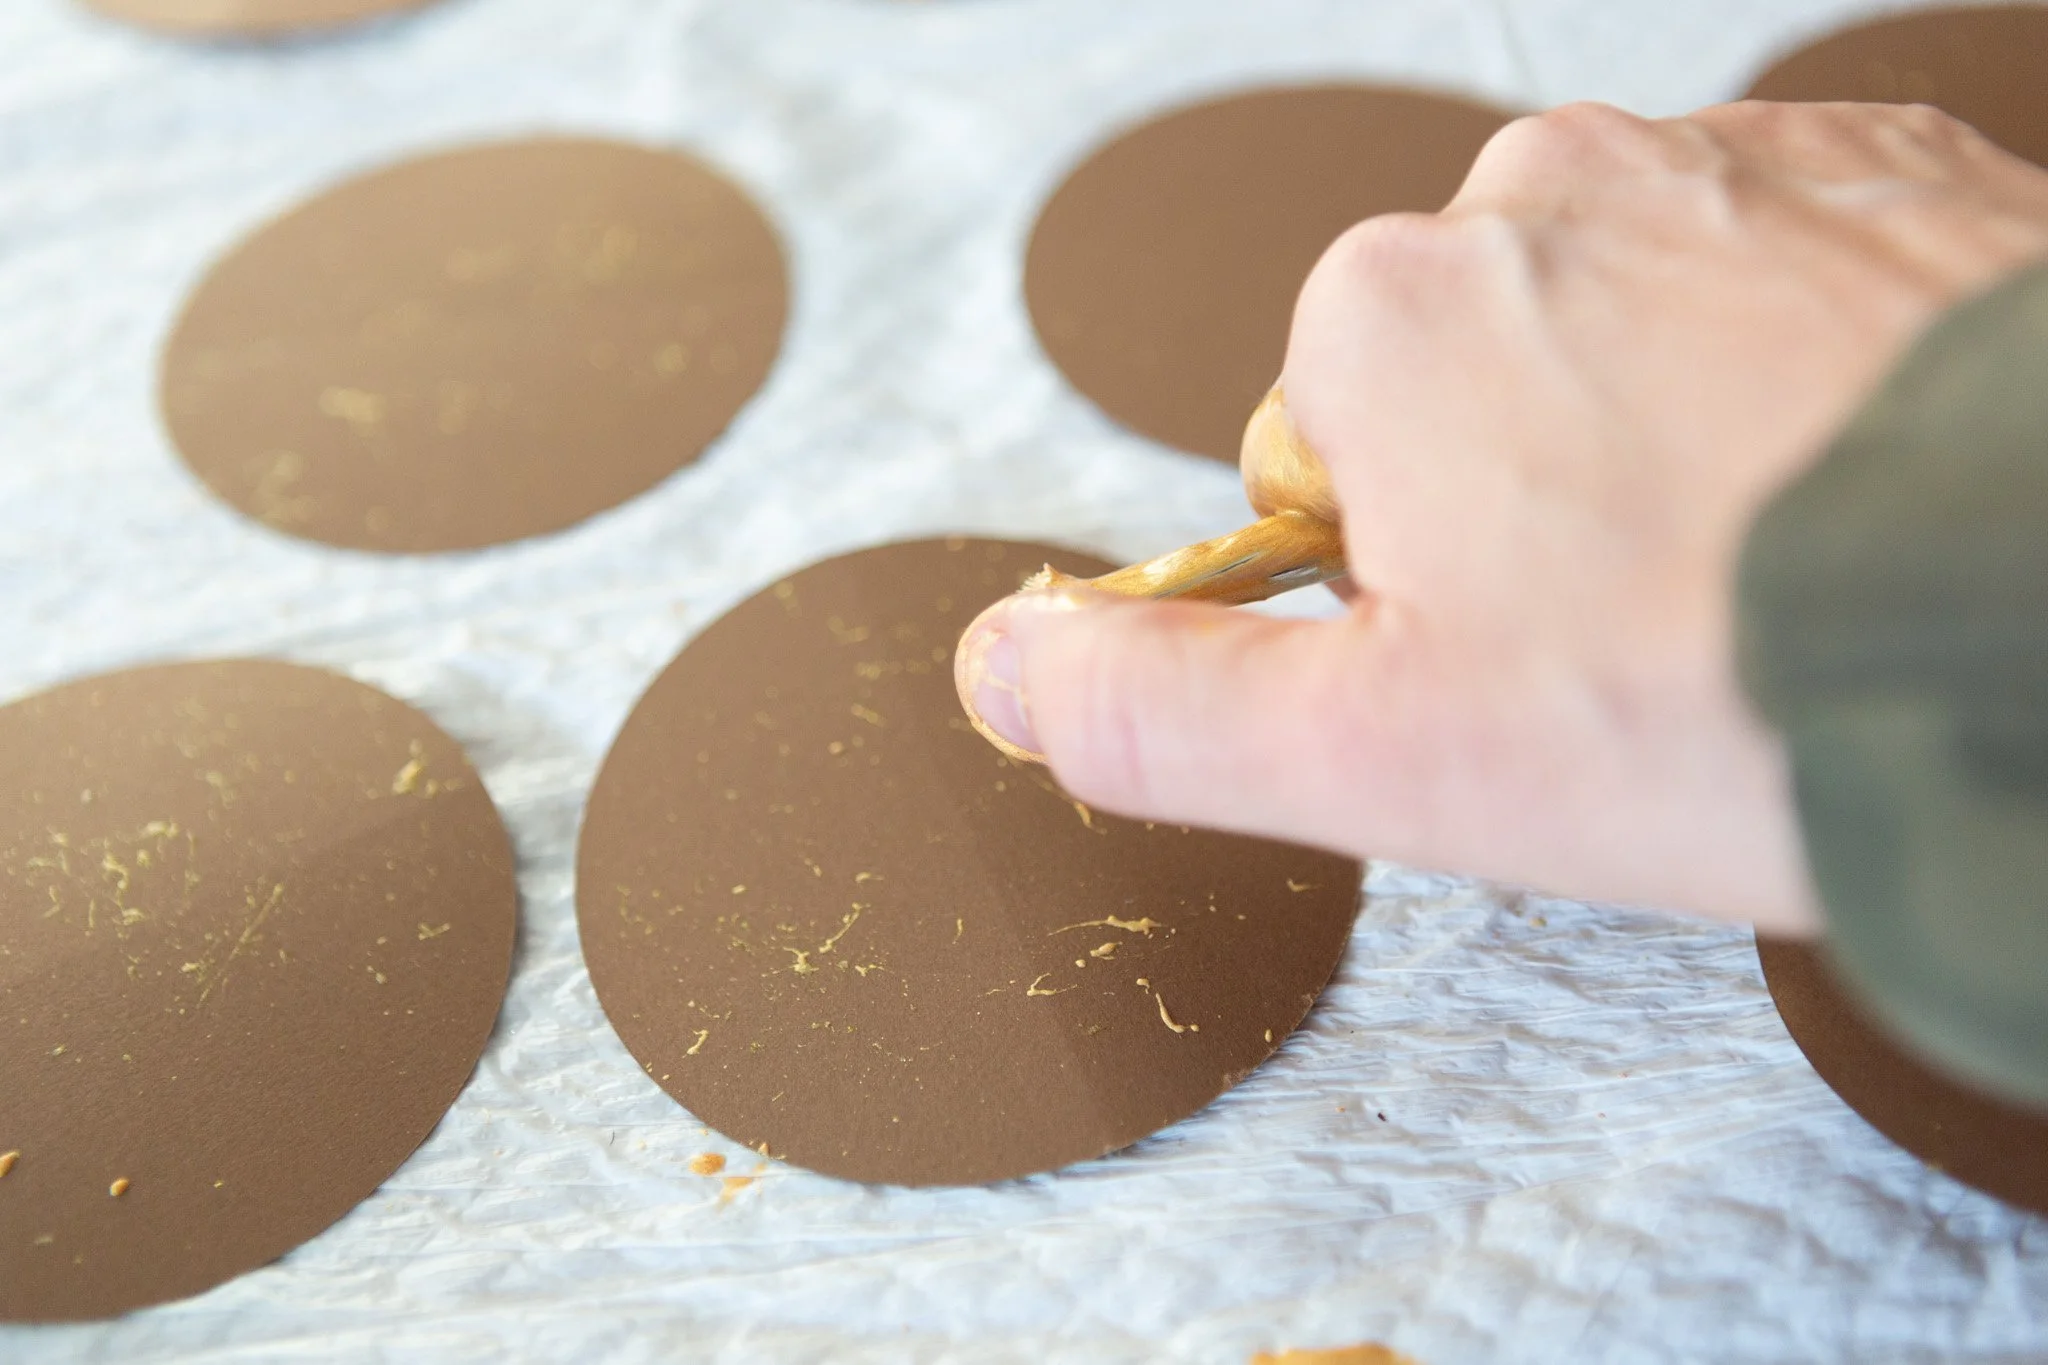
Step 3
Dip the tip of the brush into the paint mixture.
Use a finger (insert gloves here) to pull the bristles back and let go quickly.
Repeat for the desired intensity.
Let dry for a second (thinned paint dries quickly).
Flip.
Repeat flicking.
Voila!
I’d love to see your splatter honeycomb ornaments: Be sure to tag me on Instagram.